Acrobatic AnimateDiff
Last summer, during a visit to Le Centquatre in Paris, I recorded myself performing some soft acrobatic maneuvers inspired by capoeira. This project explores the transformation of this footage into stylized animations using state-of-the-art AI tools. Below is a detailed guide through the technical process, challenges, and insights gained.
Table of Contents
- Tools
- Technical Background
- Project Overview
- Technical Hurdles and Implementation
- Results
- Informal Commentary and Advice for Getting Started
Tools
This project relies on several key tools working in concert:
-
Core Frameworks:
- ComfyUI - Primary workflow environment - a modular, node-based interface for Stable Diffusion image generation
- Automatic1111's Stable Diffusion Web UI - For manual corrections and testing
-
Essential Components:
- AnimateDiff - Motion coherence
- ControlNet - Pose and depth control
- IP-Adapter Plus - Style transfer extension for ComfyUI, with weights and masking to influence composition
- DWPose Estimator - Pose detection
- sd-webui-openpose-editor - Manual pose correction
- openOutpaint - Frame expansion
-
Supporting Software:
- Adobe After Effects - For rotoscoping and mask creation
- FFmpeg - Video processing and frame extraction
The Stable Diffusion tools were run on a rented GPU from RunPod.io because I don't own a GPU with enough VRAM. Even with an Nvidia RTX A4000, the videos took about an hour to generate.
Technical Background
Before diving into the implementation, it's crucial to understand the foundational technologies that make this project possible.
Stable Diffusion
Stable Diffusion represents a significant breakthrough in image generation, operating in a compressed latent space rather than directly on pixels (Rombach et al., 2021). This efficiency has led to widespread adoption and experimentation, creating a rich ecosystem of tools and techniques. For those interested in the technical details, this educational resource by researcher Binxu Wang provides an excellent deep dive into the mathematics and architecture behind the model.
AnimateDiff
AnimateDiff extends Stable Diffusion from static images to fluid animations through its novel temporal transformer architecture (Guo et al., 2023). This advancement eliminates the need for complex frame-by-frame processing that often resulted in temporal inconsistencies. The model's modular design allows it to plug into existing Stable Diffusion models without retraining, preserving their image generation capabilities while adding smooth animation. Its domain adaptation technique helps maintain image quality despite the challenges of working with video data.
ControlNet
ControlNet's neural network architecture adds precise conditioning controls to image generation models while preserving their original capabilities (Zhang et al., 2023). It processes reference images through specialized sub-networks to guide the generation process. In this project, multiple ControlNets work together: one for pose information and another for depth information, ensuring both movement accuracy and spatial coherence. This multi-ControlNet approach helps maintain both the fluidity of the original movements and the three-dimensional coherence of the generated images.
IP-Adapter
IP-Adapter enables precise control over image generation using reference images through a specialized attention mechanism (Ye et al., 2023). Unlike simpler approaches that only match colors or textures, IP-Adapter captures and transfers both style and content elements through additional cross-attention layers. This architecture allows the model to better understand and reproduce complex visual elements while still maintaining flexibility in combining different styles and prompts.
Project Overview
This project utilized four video clips of capoeira movements to create four distinct stylizations. The transformations combined textual prompts with IP-Adapter's image-based guidance, while ControlNets maintained movement accuracy. The primary workflow was implemented in ComfyUI, based on the approach by AI artist Tyler Bernabe (jboogx.creative).
ComfyUI Workflow
The core of this project is implemented as a ComfyUI workflow combining multiple components:
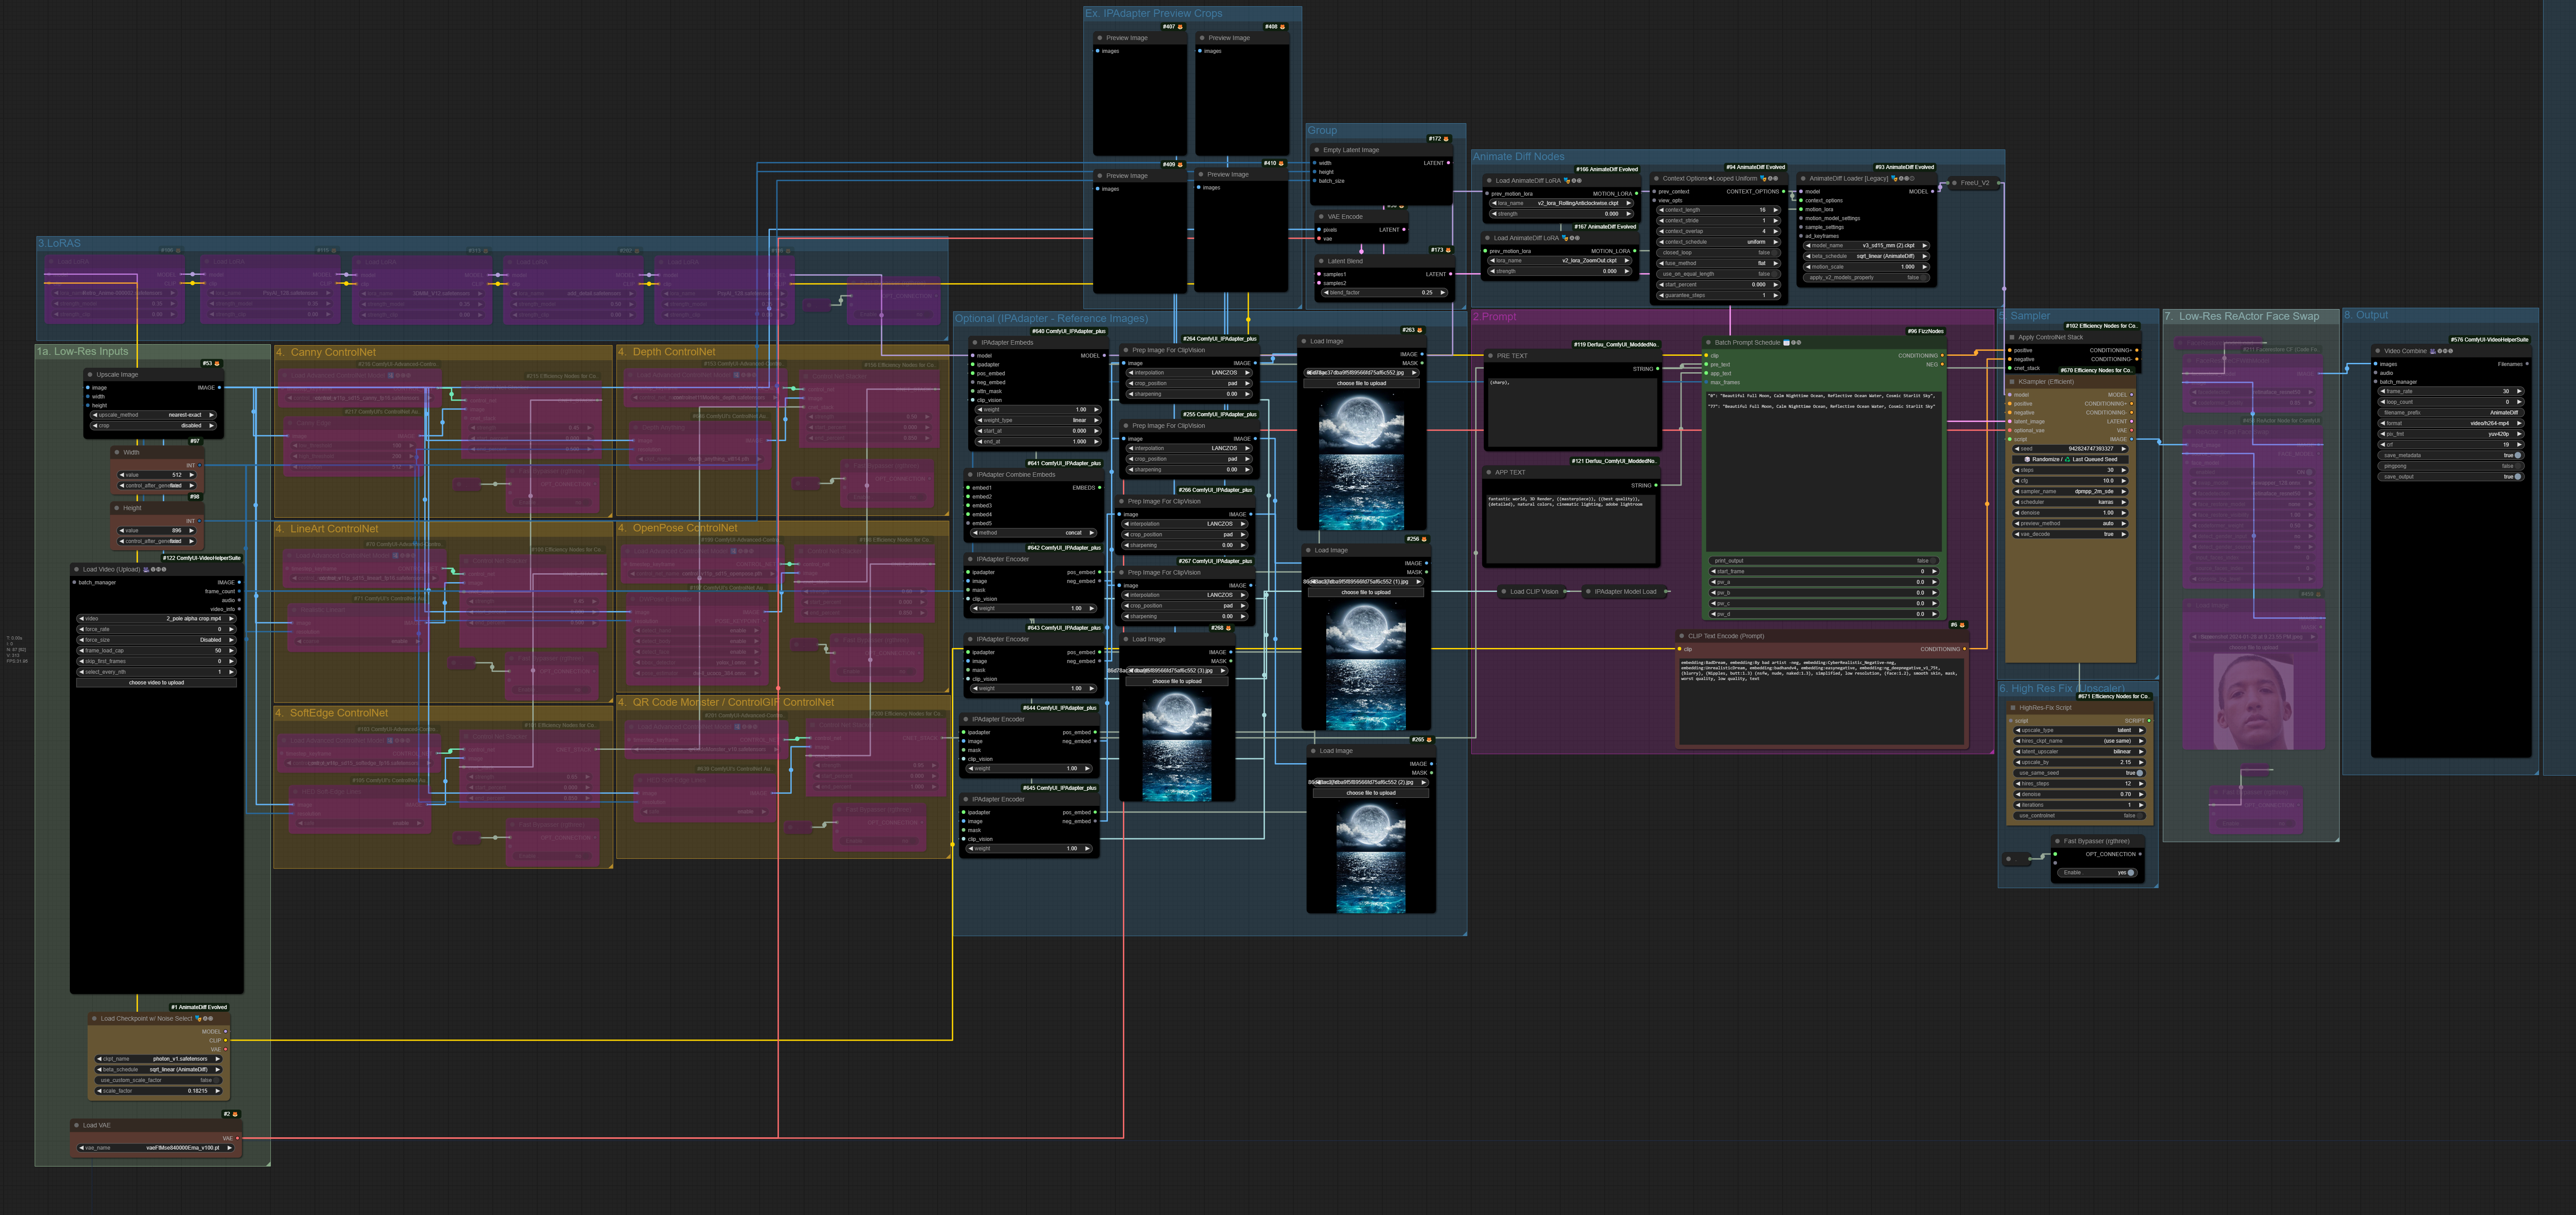
ComfyUI workflow diagram showing the integration of AnimateDiff, ControlNet, and IP-Adapter components
The workflow consists of several key stages:
- Video frame loading and preprocessing
- Pose estimation and depth map generation through DWPose
- Style reference processing through IP-Adapter
- AnimateDiff-guided frame generation
- Post-processing and video compilation
Each stage required careful tuning of parameters to achieve the desired balance between maintaining the original movement's integrity and achieving the target stylization.
Technical Hurdles and Implementation
During the course of this project, there were two main issues that needed to be resolved before the workflow could succeed: 1) repairing one of the source videos, and 2) correcting the pose estimator.
Video Frame Correction
During the initial recording of the "au de frente" movement, my foot unfortunately left the frame in the final moments. Rather than discard this footage, I developed a two-step correction process using Automatic1111's openOutpaint extension.
Original au de frente footage showing the foot leaving the frame
The correction process involved first outpainting to generate a wider view of Le Centquatre's hall. Within a few iterations I found an extension that was satisfactory, and used this as the extended background for all frames. From there, I inpainted the missing foot in the twenty frames in which it was missing. Using a LoRA trained on my shoe, I iterated over each of these twenty frames, and carefully ensuring that there was some general consistency between each generation in terms of the shoe size and angle.
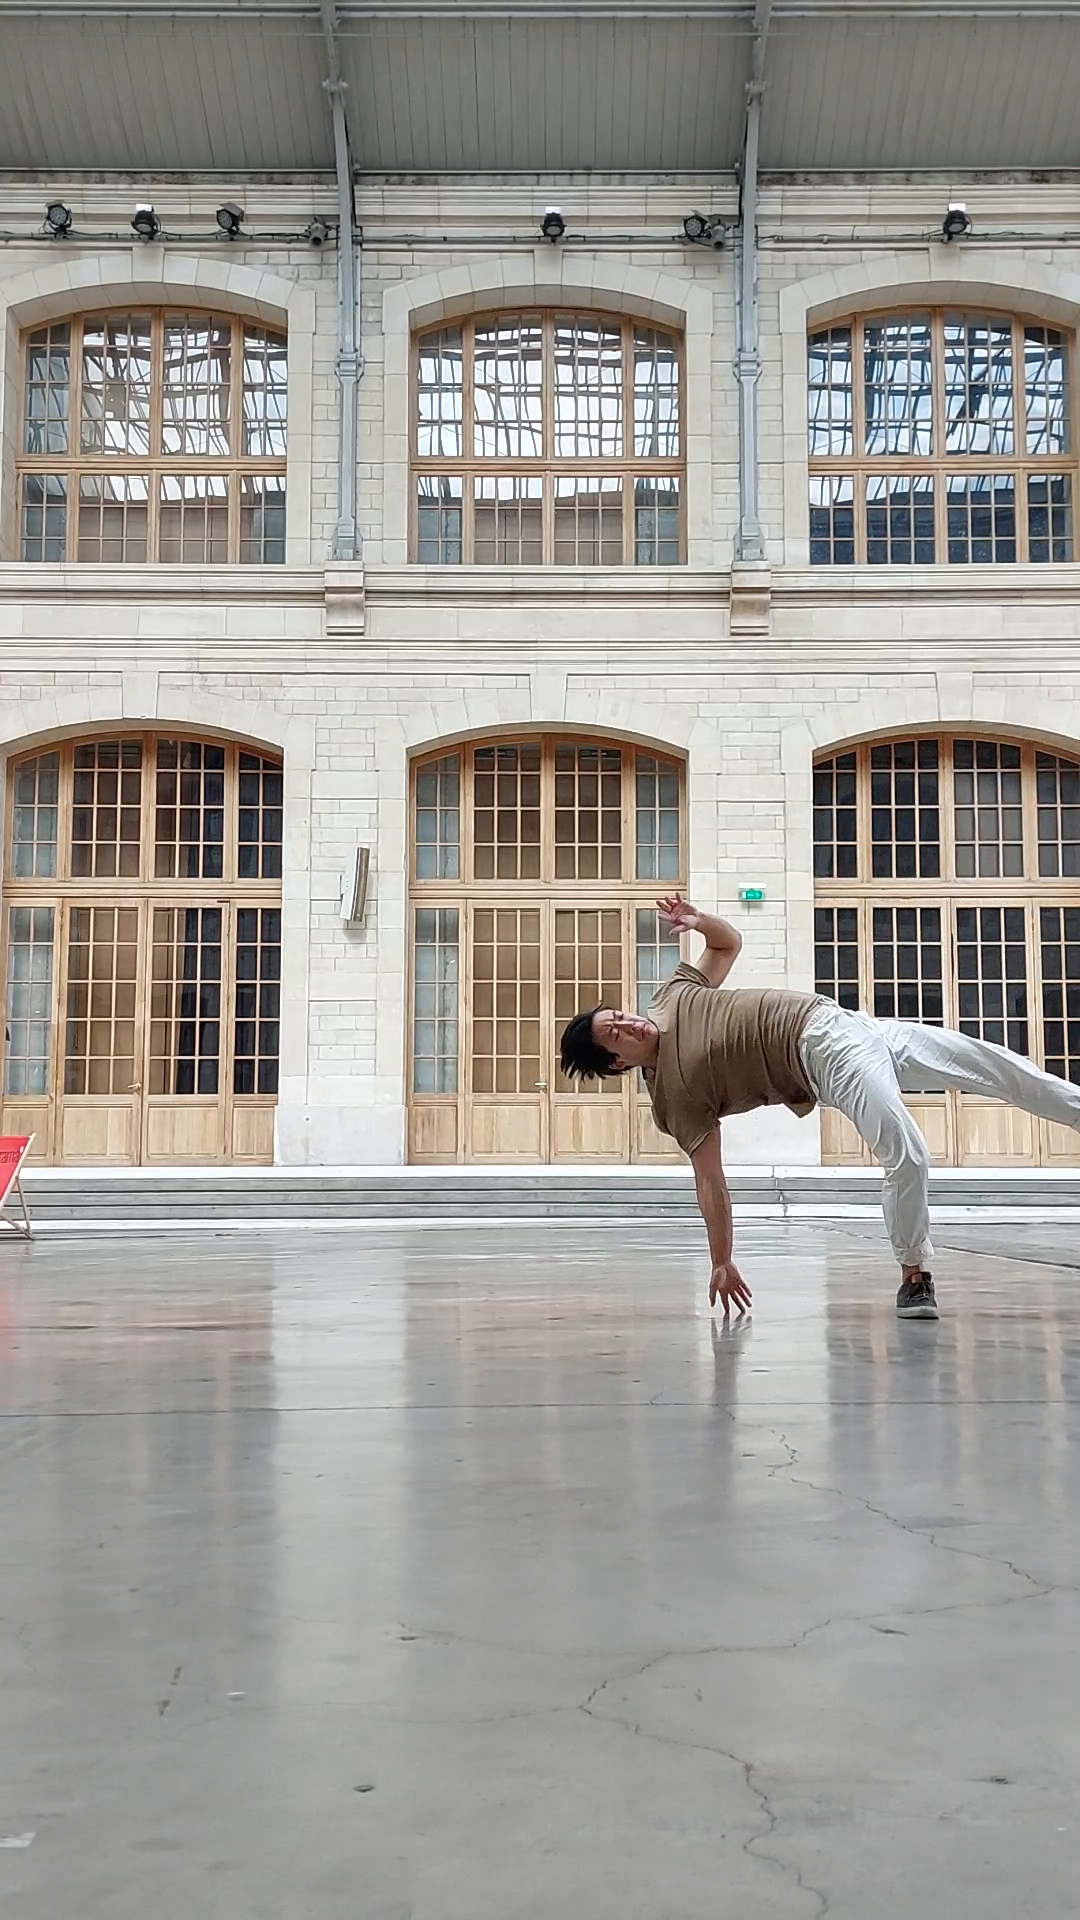
Original frame with cropped foot

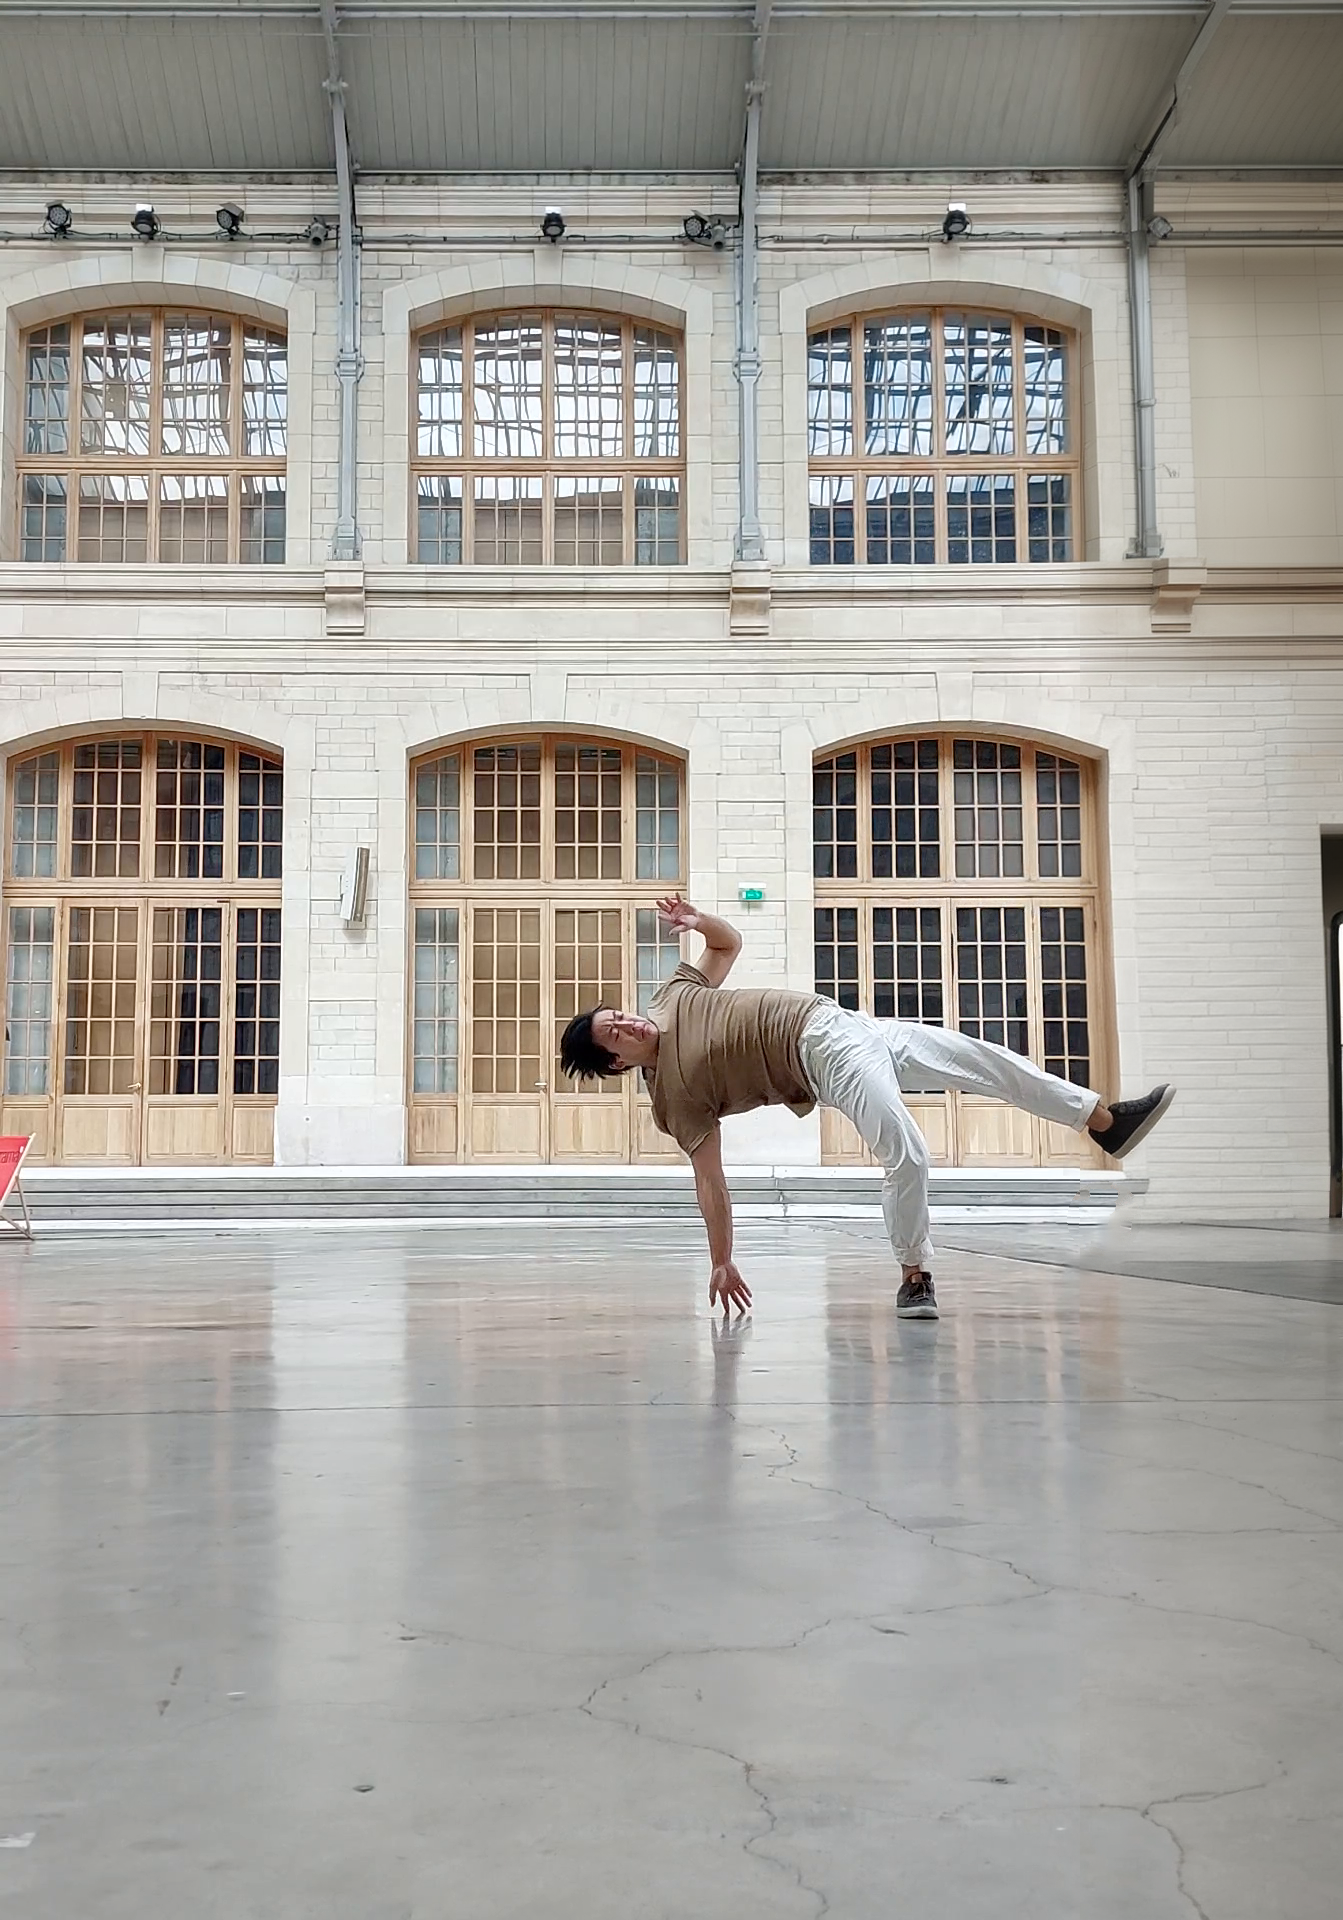
Frame with outpainted background
Final frame with inpainted shoe
Below, you can see the result of this correction process. If you scrub frame by frame, you'll notice that the shoe looks slightly different during the span where it was inpainted, but if you weren't looking for it, it's hard to spot that detail at 60 fps.
Expanded au de frente footage showing consistent movement through the corrected frames
Pose Estimation Refinement
The most challenging aspect of this project was correcting erroneous pose estimations. While DWPose represents the state-of-the-art in whole-body pose estimation, it occasionally struggled with the inverted and twisted positions common in acrobatic movements. Using the sd-webui-openpose-editor extension, I manually corrected approximately 90 frames per video.
These corrections ranged from minor adjustments to complete reimagining of the pose structure:
- Ankle position refinements
- Left/right limb disambiguation
- Missing joint predictions
- Inverted pose corrections
Au de frente clip at 1/3 speed, with the original pose predictions in the center
Style Transfer Implementation
With accurate pose estimation in place, the style transfer process utilized both text prompts and image references through IP-Adapter. For the au de frente movement, I developed a cyberpunk aesthetic with this prompt:
a robot in a cyberpunk city street, well defined futuristic metal buildings,
nighttime, rainy, imperfect cracked textured asphalt floor, 3D Render,
((masterpiece)), ((best quality)), (detailed), natural colors,
warm cinematic lighting, adobe lightroom
The IP-Adapter received guidance from carefully selected reference images:
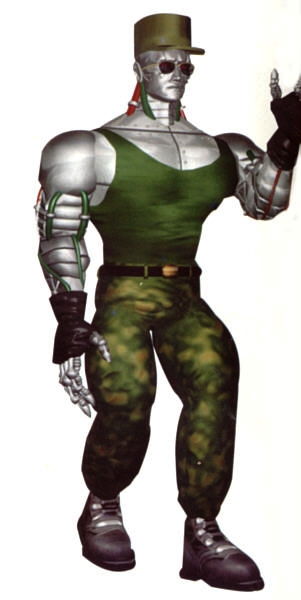
P-Jack from Tekken

Generic cyborg image found online
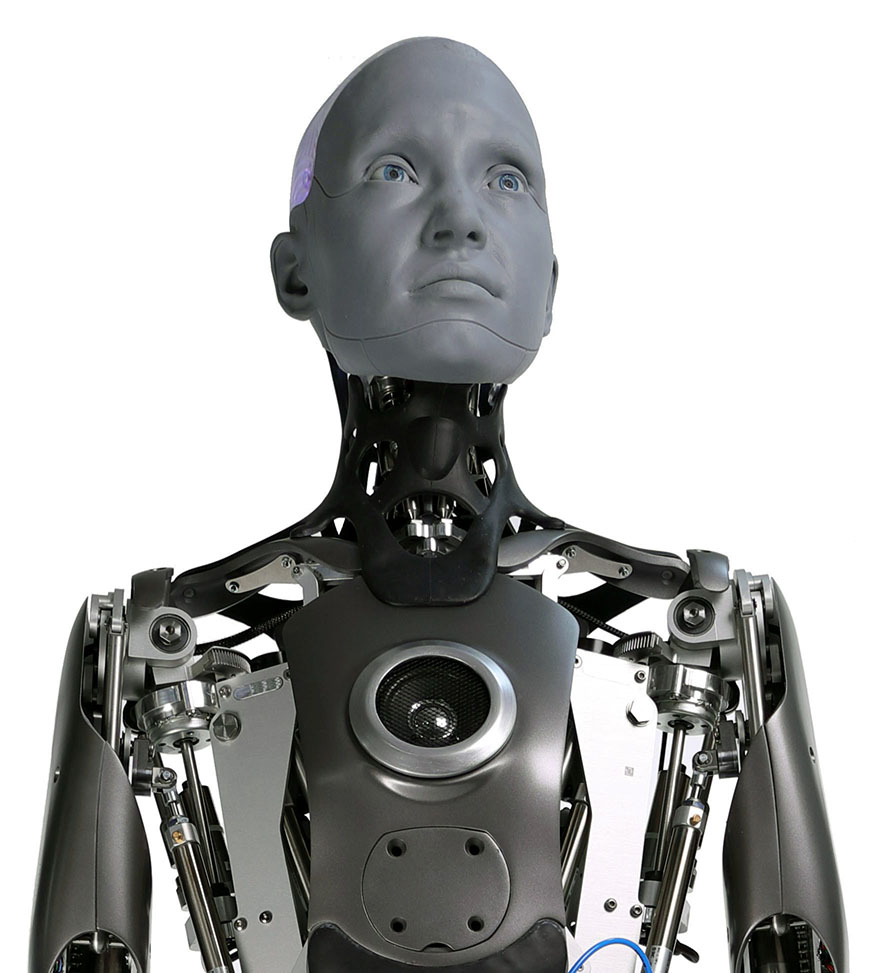
Ameca robot by Engineered Arts
To ensure precise application of the style transfer, I created attention masks using Adobe After Effects:
Rotoscoped attention mask guiding the IP-Adapter's influence
Results
The final results demonstrate the successful integration of all components:
Interactive comparison between original footage and AI-processed version
The complete transformation can be viewed here:
Informal Commentary And Advice for Getting Started
This whole project took about two months time, with a large chunk of it spent wading through various outdated tutorials and toying around with far too many different modules at once to truly understand each one's contributions. This was especially true of the first two weeks, where the majority of what was generated barely resembled the source footage. Understanding the influence of the ControlNets and actually exporting the predicted poses led me down the path of correcting them and making headway towards physiologically realistic generated images. I did not read closely into the DWPose paper, but I imagine that a video pose estimator would have better predictions than the standard DWPose estimator, as it could take into account the conditional dependence between poses across time. Furthermore, because the types of movement I engaged in were probably out of distribution, the training set would probably benefit from some of these challenging images.
If I were to give advice to somebody trying to get into this kind of AI-powered multimedia work, I would recommend starting small with simple text-to-image and image-to-image use cases to familiarize yourself with the basics before downloading extensions and creating complicated webs of nodes in ComfyUI. Building an understanding of the individual components would save a lot of time experimenting with too many variables. ComfyUI's official page with examples is a great place to start. For AnimateDiff, I recommend this workflow by Inner_Reflections_AI on Civitai.
References
- Rombach R., Blattmann A., Lorenz D., Esser P., Ommer B. (2022). High-Resolution Image Synthesis with Latent Diffusion Models.
- Guo Y., Yang C., Rao A., Liang Z., Wang Y., Qiao Y., Agrawala M., Lin D., Dai B. (2024). AnimateDiff: Animate Your Personalized Text-to-Image Diffusion Models without Specific Tuning.
- Zhang L., Rao A., Agrawala M. (2023). Adding Conditional Control to Text-to-Image Diffusion Models.
- Ye H., Zhang J., Liu S., Han X., Yang W. (2023). IP-Adapter: Text Compatible Image Prompt Adapter for Text-to-Image Diffusion Models.